 I wasn’t sure if this should be titled Cauliflower, my new best friend! Or, Cauliflower, my new best friend? Or, …best friend 😭. Why? Because I do love cauliflower, but then I worry that loving it means so much more than just a vegetable choice. It’s my journey from one place to the next. Continue reading
Saturday Lunch

At some point, I know my kids (now 6 and 3!) will object to meals like this. The kind of meals I make them daily, which consist of leftovers or food I find in the pantry or refrigerator, with no regard to how the items “go” together, only that they cover a couple of food groups. Like Saturday’s lunch: tortellini with red sauce and Parmesan cheese, store-bought potato salad (big tub from Costco), Korean Beef Bulgogi, cucumbers (grown from our friend’s garden) and slices of fresh nectarine.
They are good eaters (I know I’m so lucky in that regard!), and don’t complain, even though Jan’s meals are far more thoughtfully composed and usually stay within one cuisine. But his dinners are usually ready at 9 or 10 pm, when they’ve long been asleep. So they get the the early bird or lunch version, where I reheat a portion of that meal and add in a few more things. (Got to make it a bit more weird, you know?)
At some point, they’ll become more discerning and learn to cook on their own (I’ve started teaching Axel how to make a few things), and I might be forced to change my ways. But for now, I’ll think of these kid meals as our version of the Whole Foods salad bar, without the $8.99 price per pound!
Crab Boil
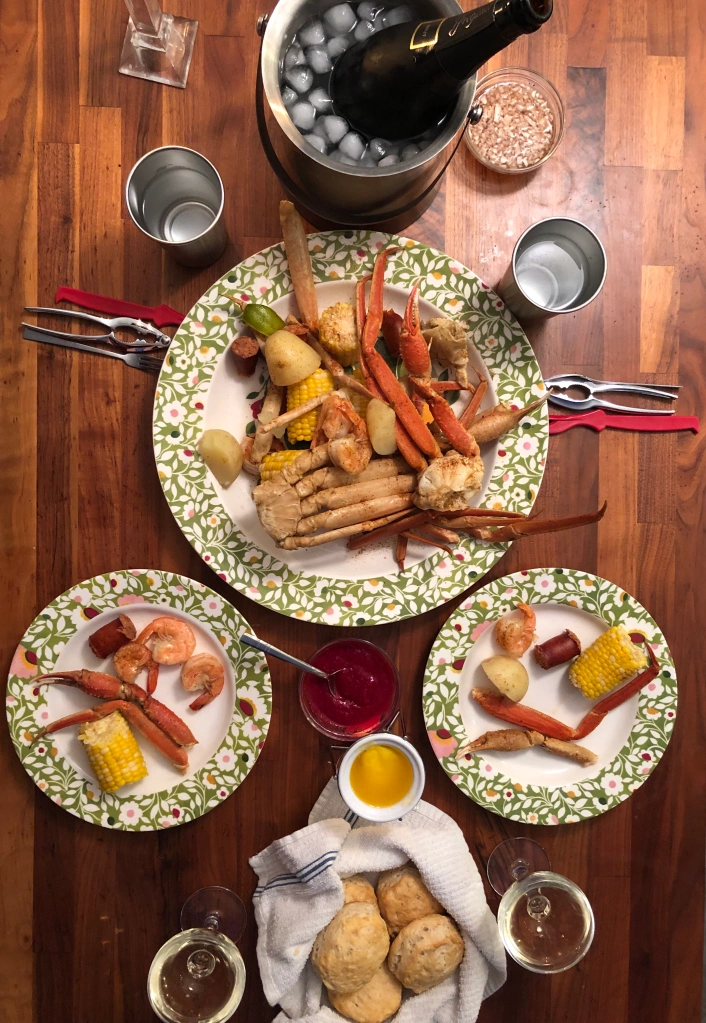
Not sure what in particular made me want to suddenly post again, after so much time away, but here is last night’s dinner at home—a crab boil complete with snow crab legs, corn on the cob, shrimp, potatoes, spicy sausage and biscuits. Old Bay seasoning. Cava to drink. Beet horseradish + ketchup for the shrimp and sausage, butter and honey for the biscuits. And mignonette. For whatever we felt like dipping into that sweet, yet pucker-inducing sauce.
Throughout the years, I did keep up this domain, hoping that I would someday post again here. And yes this pandemic is making me a bit crazy and maybe this is a way for me to focus a bit on the good (and delicious). Here’s to more here soon!
Update. And Cottage Pie.

Blog, it’s been a while. Since my last post (was it really November 2013!?) Jan and I welcomed a new member to our family, our son, Axel, now age 14 months. Parenthood has kept us busy and added a whole new dimension to our food and travel adventures (more on that to come hopefully here on the blog). We also recently moved to a new home, so we’ve had a lot going on!
The food I’m writing about today is one we’ve just recently discovered, and also something that everyone in the family enjoys (the little one is really into meat and mashed potatoes, and I don’t blame him)!
It all started when I saw shepherd’s pie on a menu somewhere and suggested we try making it ourselves sometime.
The first time Jan made it, we both asked ourselves, where has this food been our whole lives, and why haven’t we been eating it all the time? We’ve tried it with a few variations, and throughout this experimentation process, realized we’d actually been calling it the wrong name. Shepherd’s pie is made with lamb, and cottage pie is made with beef. Definitely prefer the beef version.
We cook ground beef with onions, garlic, shredded carrots, tomatoes and red wine. We also add some rosemary, thyme and parsley.

We make our standard mashed potatoes with just russet potatoes, butter, milk, salt and pepper (I’m always in charge of this job because Jan does not add enough butter). I set a little bit of the mashed potatoes aside just for Axel to eat later, and to the rest, add one egg yolk (this will help it set up on top of the beef when baked).
In a baking dish, we add the layer of mashed potatoes on top of the beef layer, then sprinkle with paprika and some freshly grated Parmesan cheese, and bake!

I Messed with Tradition: Twist on Pumpkin Pie

Tell me to name my favorite kind of pie and I will say “pumpkin pie!” without hesitation. Of course, I require a large dollop of whipped cream on top (must be whipped cream, no Cool Whip allowed) and an ice cold glass of milk nearby. But nonetheless, I love pumpkin pie, and I welcome the time of year when it’s everywhere.
I’m pretty inflexible on my pumpkin pie accompaniments (the aforementioned whipped cream and milk), and am a stickler for a good crust, but even with all that, I managed to surprise myself by changing things up a little.
It started with my friend Sim, who brought over a half-gallon of pumpkin ice cream – fresh from Superior Dairy in Hanford, CA. This local dairy has been in business since 1929 and is known for great seasonal flavors (like fresh peach in summer!) and the monster-sized S.O.S. ice cream platter. (I’ve been wanting to take a trip there and haven’t yet, but luckily I have friends who bring the ice cream straight to me!)

I got out a spoon to sample the ice cream straight from the box. Verdict?
Now that took me a little longer to think about. The flavor was good but… “interesting.” Interesting in the fact that it tasted just like the filling of a pumpkin pie, spices and all. I decided in order to be fully appreciated, it needed to be with some of those other accompaniments that complete pumpkin pie in my mind.
I thought out loud to Jan and our dinner guests: I would need to make this into an ice cream pie…I would get graham crackers and make a crust, then fill with the ice cream and top with whipped cream…
Before I could continue my theoretical list of tasks, (I wasn’t intending to do any actual work—I was in the middle of hosting our dinner guests, after all!) Jan produced a pre-made Honey Maid Graham Cracker crust from our Mary-Poppins pantry, and directed me to a carton of whipped cream in the refrigerator.
I let the ice cream sit out on the counter to get soft, scooped about half of it into the crust, covered it in plastic wrap and put it in the freezer. I then whipped the whipped cream with a sprinkling of powdered sugar, spread it on top of the slightly-chilled pie, and placed back into the freezer.

A bit later in the evening, it was time for dessert, and to sample this great experiment. The results were surprisingly good! It was like a frozen, refreshing pumpkin pie! I’d never thought that pumpkin pie could be refreshing, but here it was!

The new frozen pumpkin pie won’t be replacing my regular favorite, but it was added to the selection of holiday pies we served at our family Thanksgiving dinner we hosted on Friday (much easier for us all to get together when it’s not the actual day!) and this time, I let the guests put on their own whipped cream (instead of freezing it with the pie). Frozen whipped cream or no, it’s the way to serve the pumpkin ice cream – with its friends! It was light and our guests also described it as “refreshing,” though that didn’t stop us from overdoing it on amazing homemade berry pie, homemade pumpkin pie, and homemade apple tart.
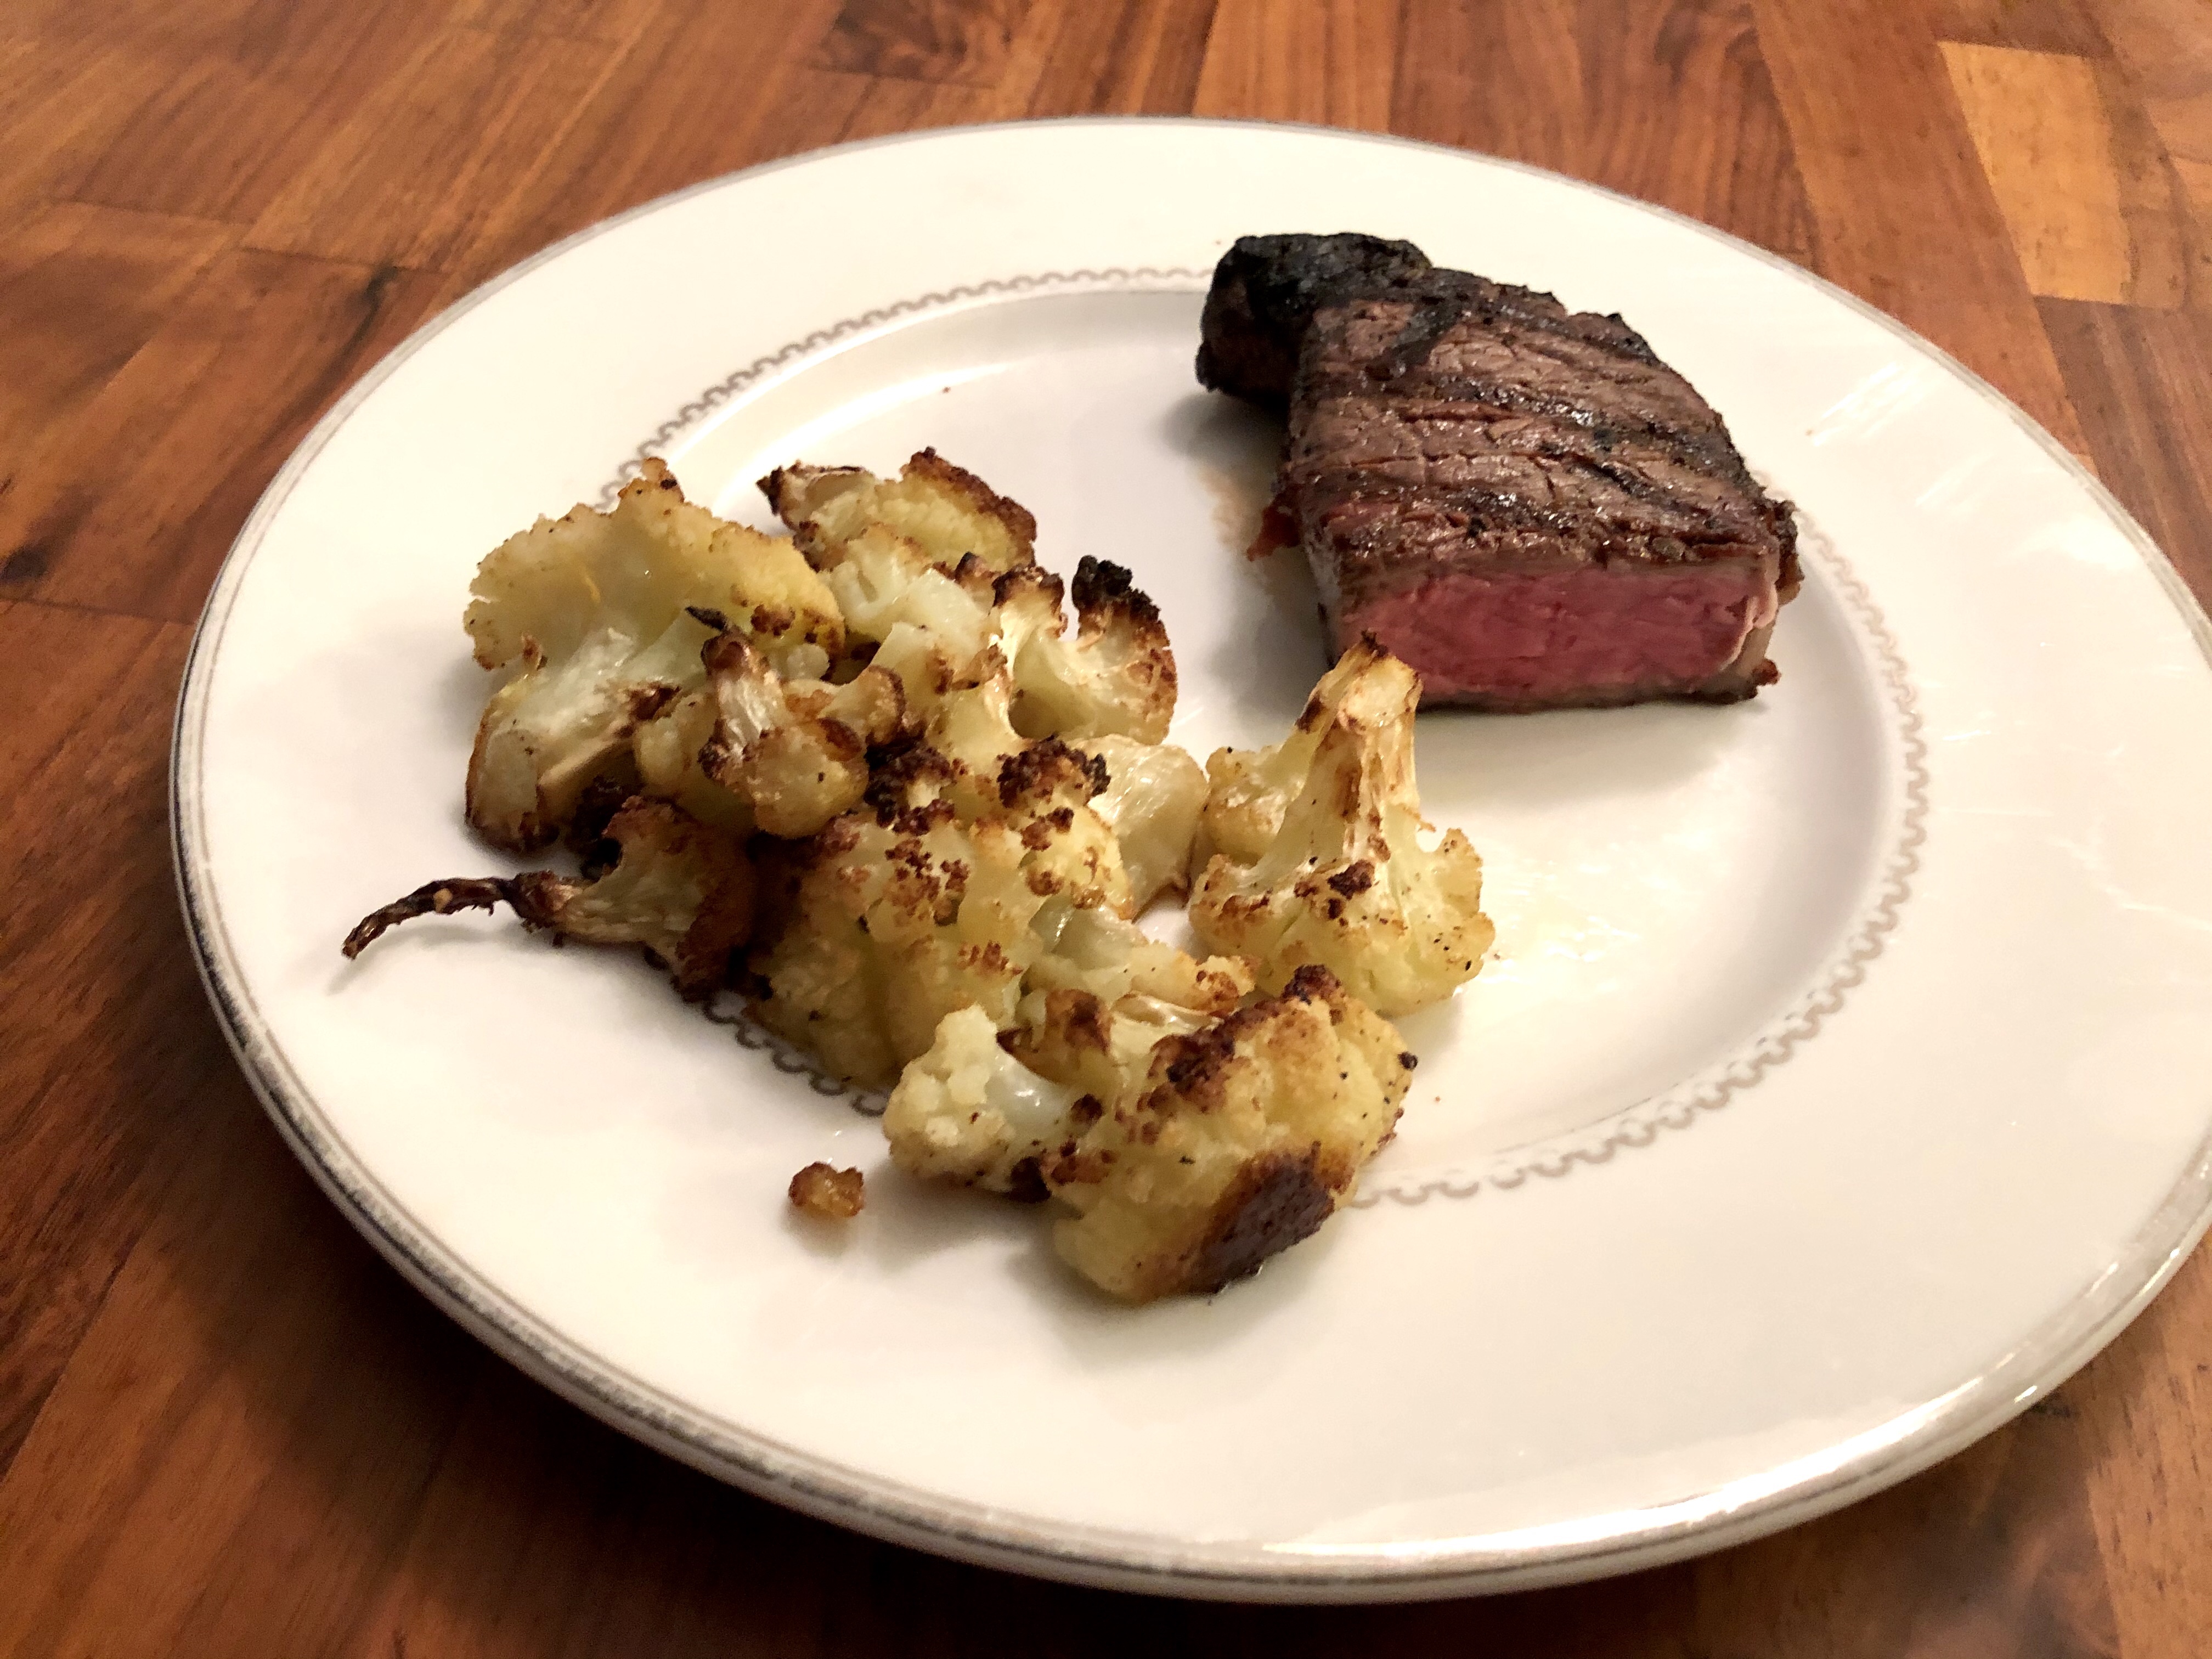
Summer of Solo Barbecuing

Well, I’ve managed to do it.
I’m not going to call myself grill master (or anything even close), but I’ve accomplished the goal I set for myself in June: “Overcome my fear of the barbecue.”
Backing up just a bit: Jan got a new barbecue and was pretty excited about it. He even posted a picture of it on Facebook with the caption “my new bbq!” (cute).

It seemed silly to me that he’d leave for fire season and this big, beautiful barbecue would just be sitting out on the back porch, alone and unused. Besides, what was with my fear of barbecuing in general?
Once I put it out there that I wanted to learn, Jan was not letting me slip back into our comfortable pattern of him doing the grilling. So he gave me my first lesson, which meant he told me what to do, I followed his instruction and I took these notes:
CHICKEN
Turn on gas.
Light.
Turn all three burners to a little past medium. Leave for 10 minutes until heated up.
Place marinated chicken between burners.
Turn over in 10 minutes.
Check temperature after another 10 minutes. Try to turn only once or twice per side.
Allow to rest. Then slice.
A few days later, tri tip was the lesson plan (picture of my thinly sliced first tri tip at the top of this post.):
TRI TIP
Turn on gas.
Light all three burners, turn to medium. Wait 10 minutes.
During this time, sprinkle Pappy’s seasoning on both sides of the tri tip.
Turn off the middle burner.
Put the meat on the grill (in the middle where the burner is turned off), fat side up.
Wait 10 to 15 minutes, flip (make sure it doesn’t catch on fire during this time!)
Wait 10 to 15 minutes, check temperature.
If not 135 degrees, flip again.
Let rest at least 10 minutes before slicing.
I had a few moments of fear, but Jan was encouraging. Yes, lifting the top of the barbecue was an arm workout in itself, and add to that the hot air rushing out the moment I lift the top intensifying my feeling that suddenly, everything might catch on fire… but I survived and the results were edible (and actually quite good)!
The true test came when Jan left for a fire, leaving behind a refrigerator stocked full of food and me not wanting good ingredients to go to waste. Since chicken was my first lesson, I pulled out my notes, pulled the cover off the barbecue, and took out the two pounds of chicken breasts with the impending best-by date. My lesson with Jan didn’t include marinating the chicken, so after a quick internet search I settled on an easy marinate I could do in a ziplock bag.
The results? Surprisingly good! The first time I checked the temperature, it wasn’t high enough so I gave it a few more minutes (and probably too many because the chicken was a bit drier than I’d hoped. Also, the “recommended internal temperatures” printed on the side of my probe thermometer are probably on the safer, well-cooked side ). But overall a success!

There was room for improvement, of course, but I’d done the hardest part — grilled on my own! (I realize I have much left to learn, and I’m not even going to think about learning how to grill with charcoal yet.)
I remembered the final part of the lesson: turn off the gas, and brought out my knife and fork.
And…we’re back!
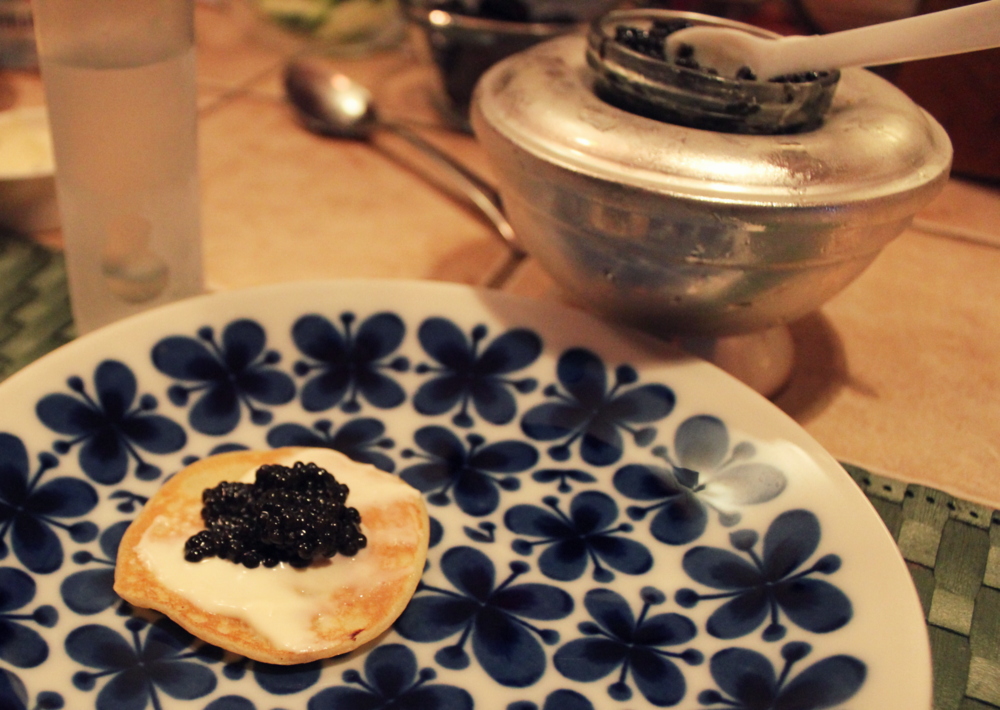
Though I missed posting in the past few months, that didn’t mean we stopped eating. Here’s a snapshot of what we were up to:
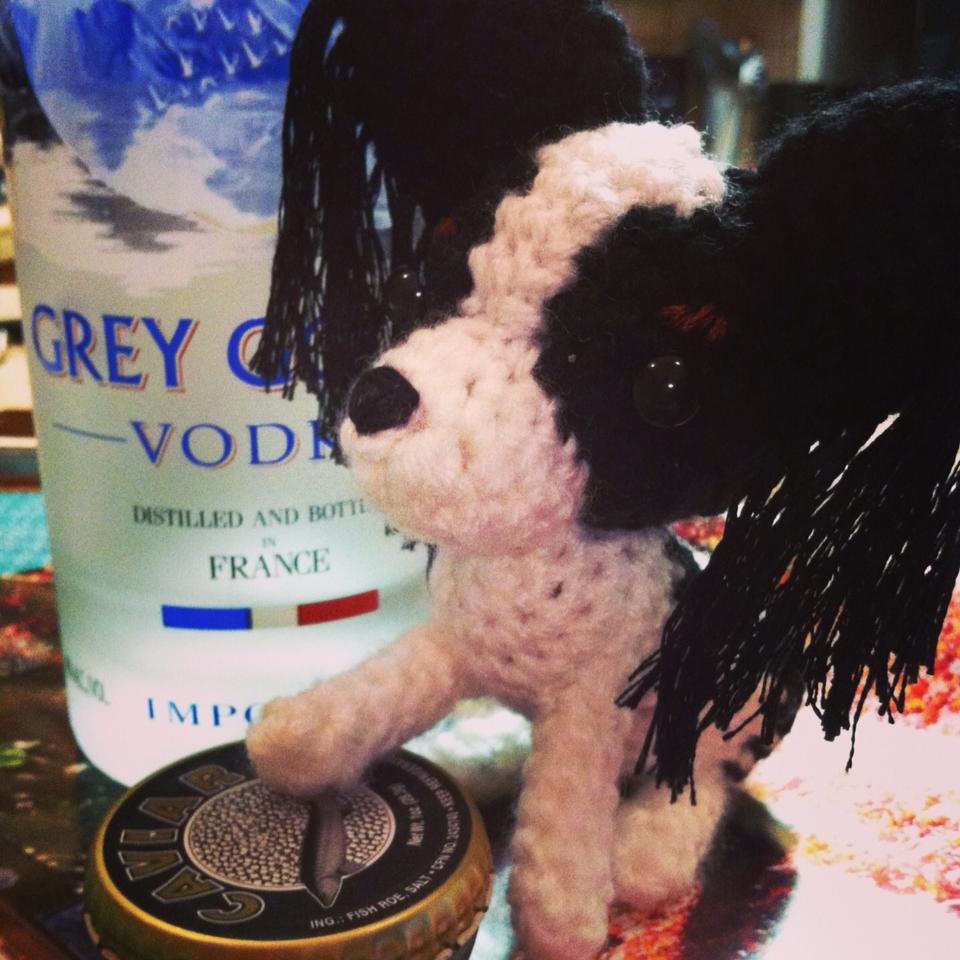
- Developed a taste for caviar and blini (just me, really. Jan already had it).
- Crocheted a “Benny” amigurumi who joined in the fun.
- Found a new love (hint: it involves giant pancakes).
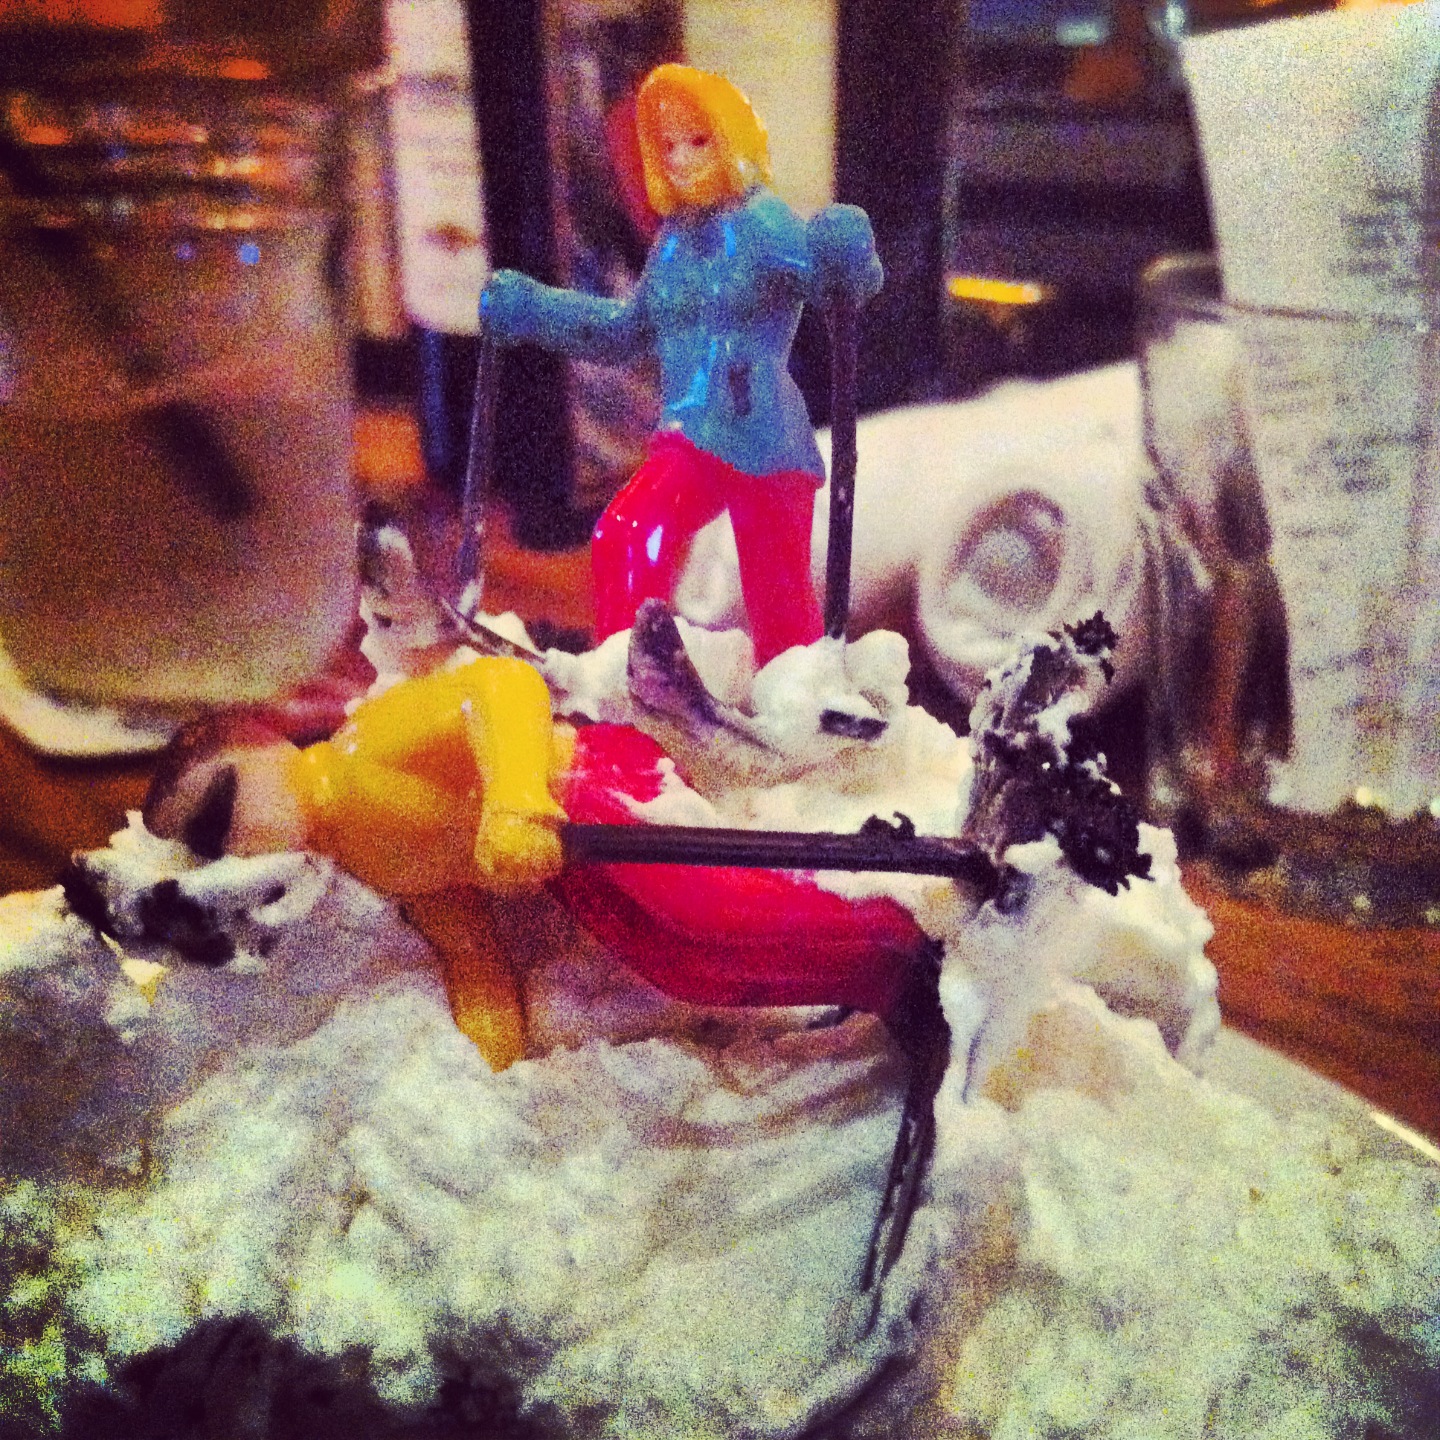
- Avoided major collisions on the slopes.
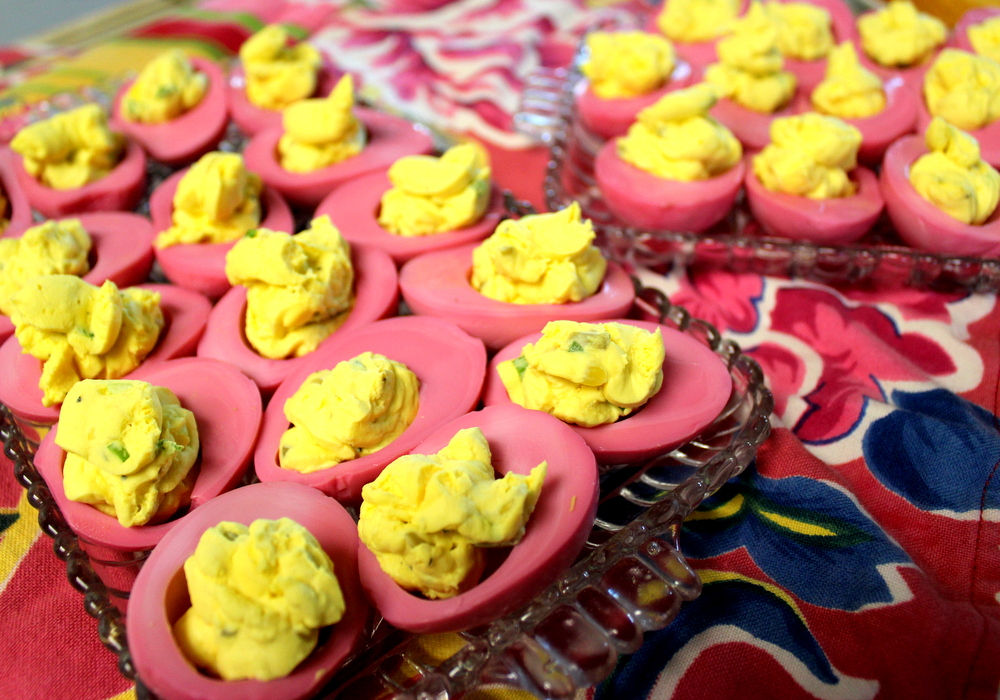
- Tried to duplicate the hot pink deviled eggs we ate here. I am convinced that Biergarten is using some other form of food coloring besides beet juice, since my deviled eggs soaked in beet juice were pastel pink, not hot pink.
- Ate lots of coconut in Hawaii.

- Got a new barbecue.
- Installed more tile and new baseboards (status: the project, started over two years ago starting from here, is “90% done,” Jan estimates).
- Finally hosted a Raclette dinner with 8 people—putting all 8 slots into use.

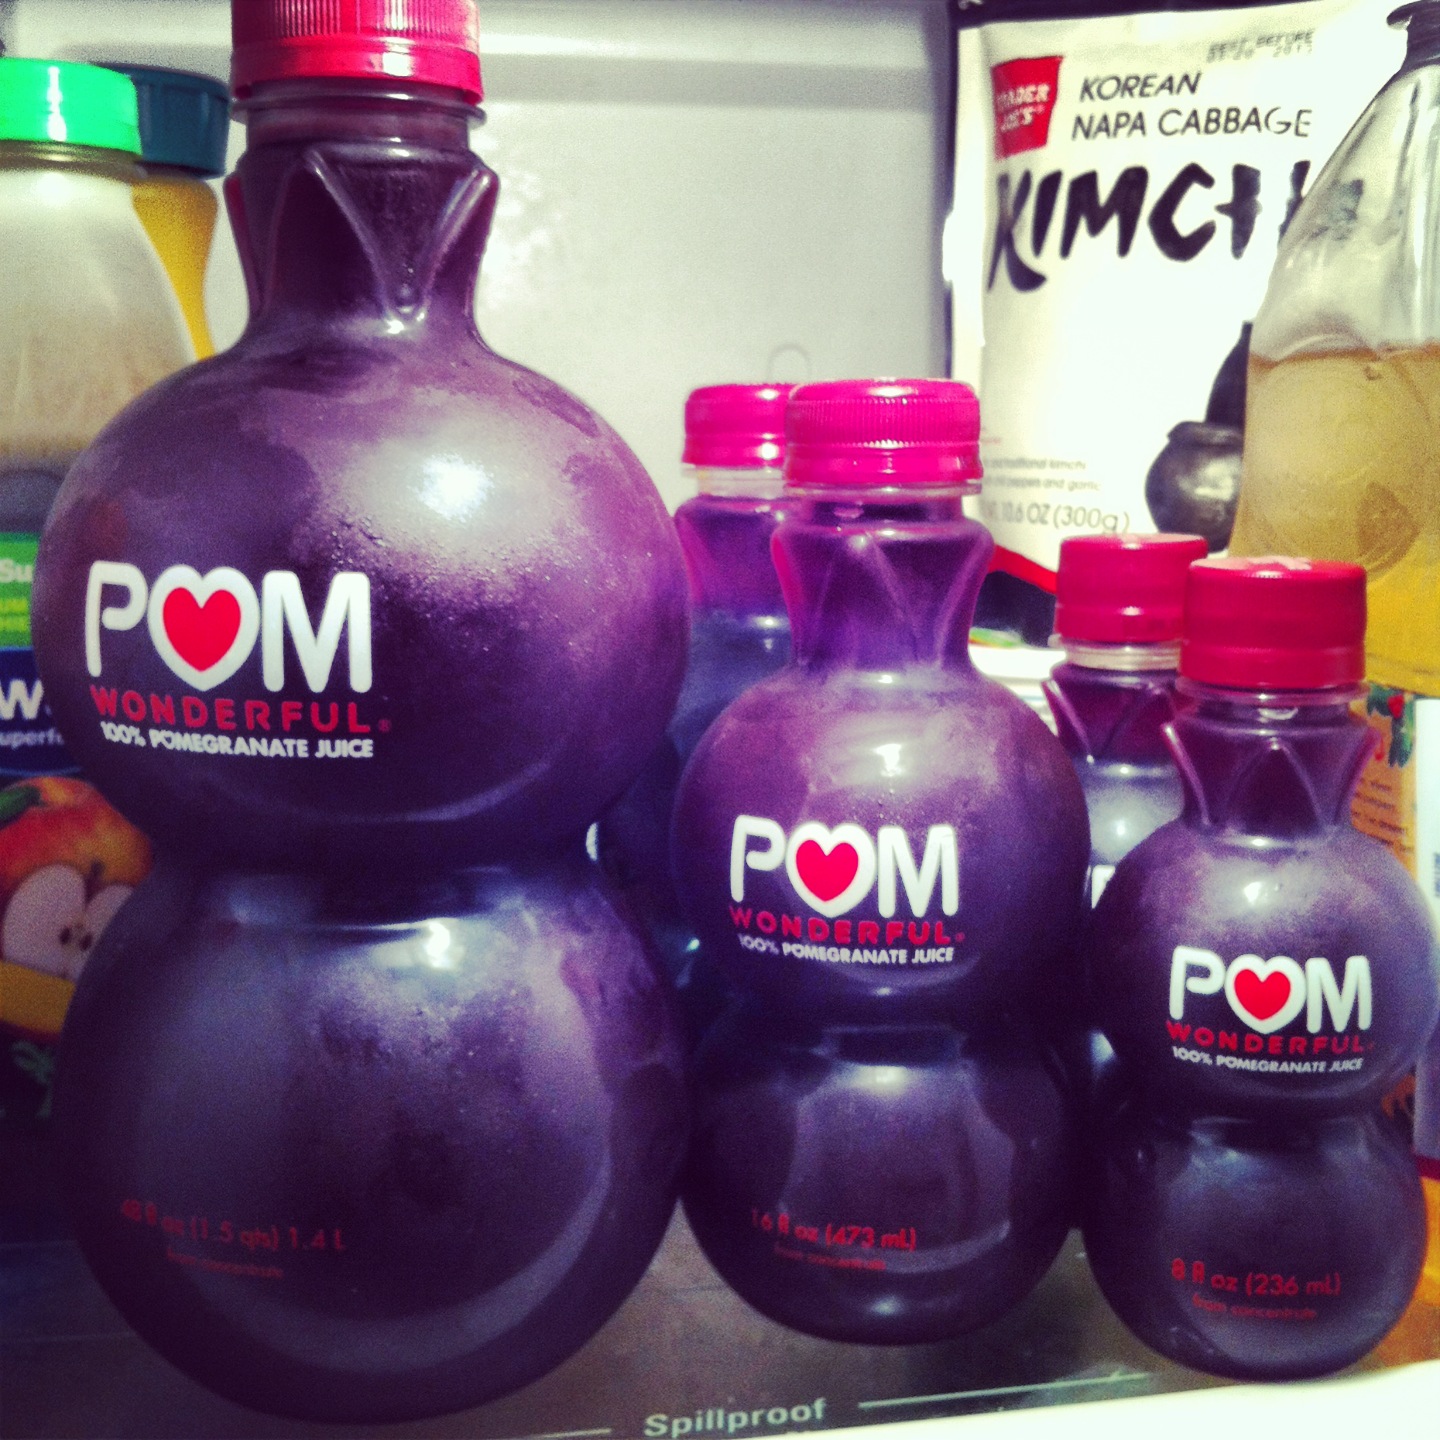
- Invited a Pom family to live in my refrigerator.
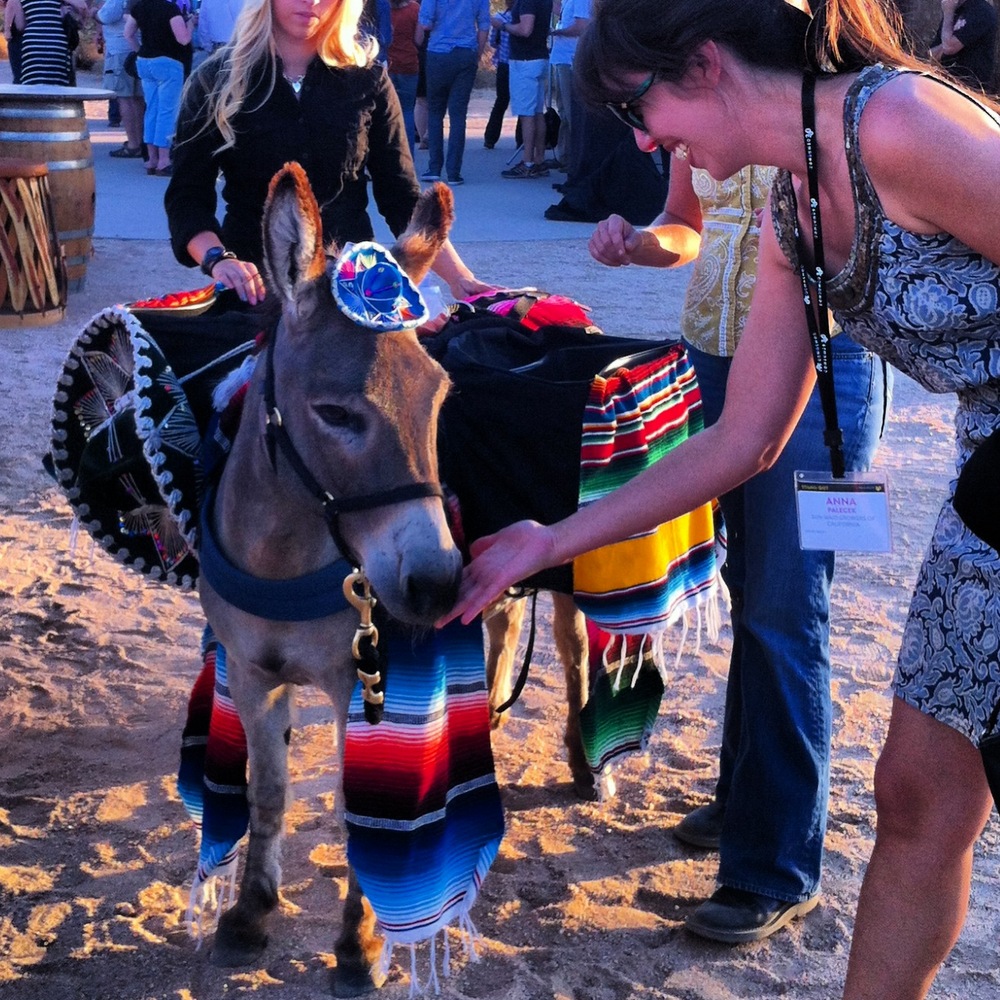
- Drank beer delivered by the cutest donkey on Earth (in his 3 packs he carried: 1. Coronas, 2. limes, and 3. carrots, which were treats for the donkey, of course)!
- Made “Crabby Snacks” for my book club’s dinner meeting on Silver Lining’s Playbook (followed this recipe exactly to rave reviews).
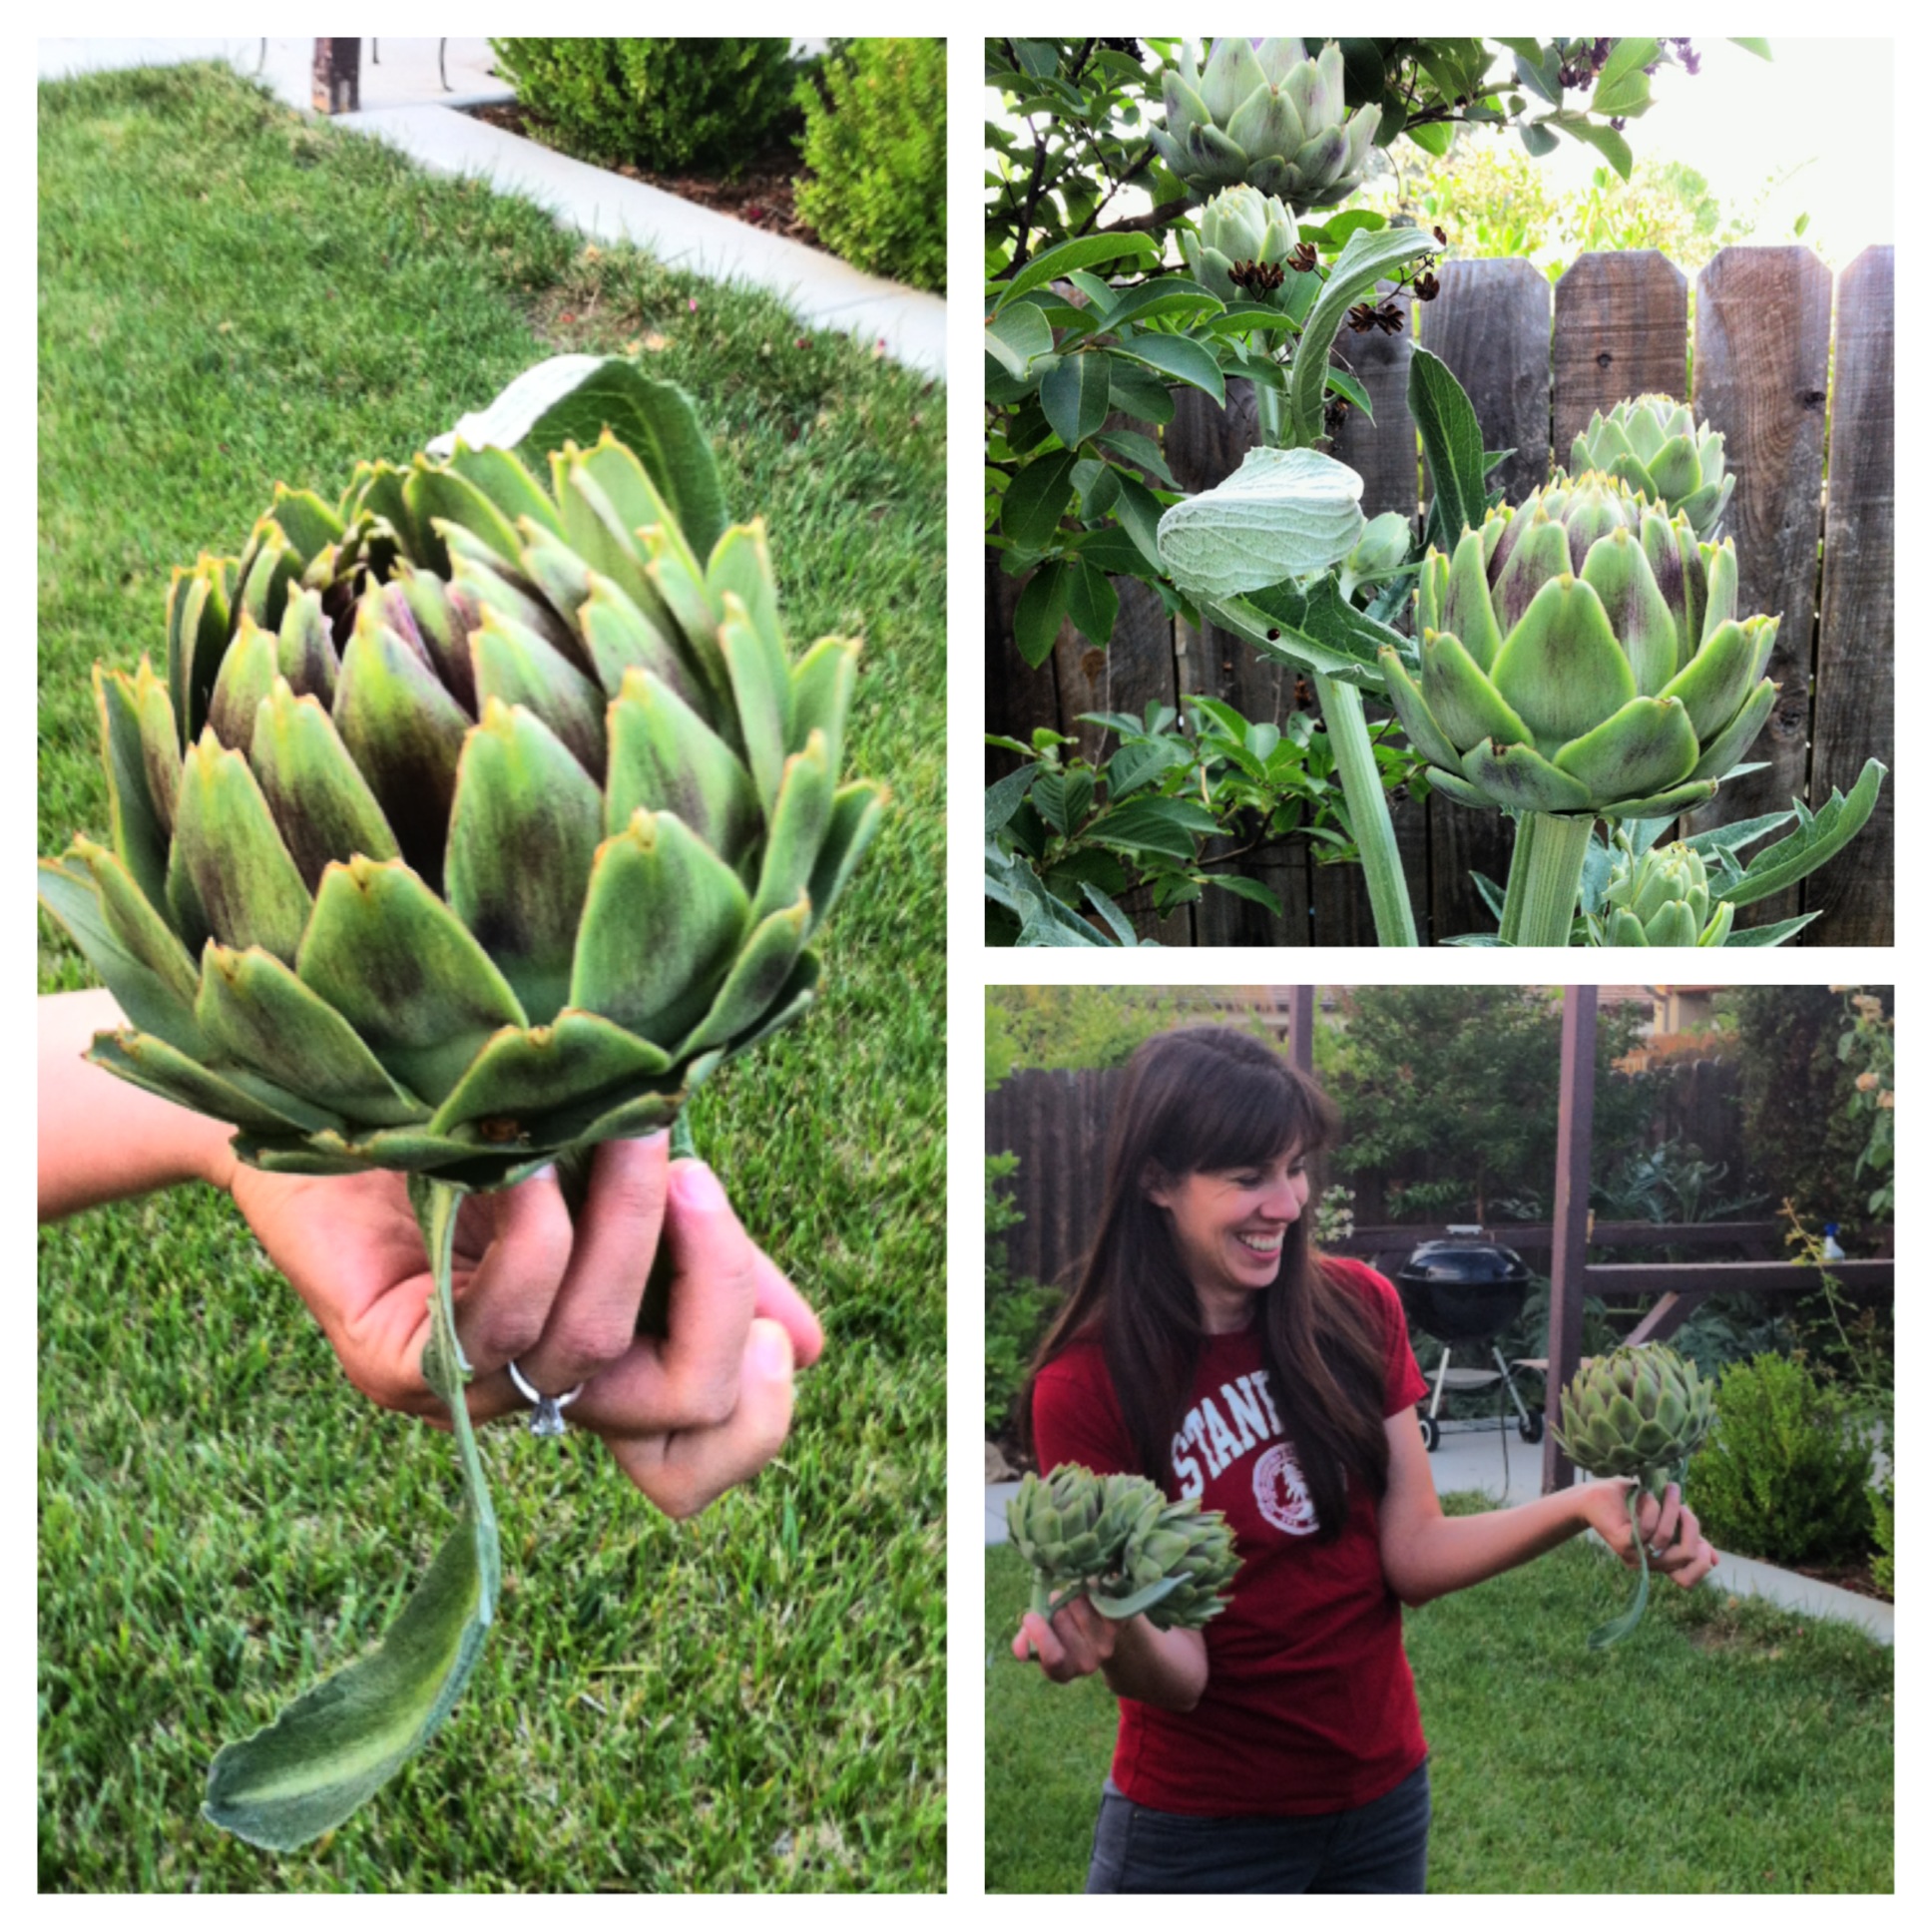
- Tended the garden.
- And, converted Jan to a lover of “breakfast for dinner” (victory!)
What’s next? Trying to overcome my fear of the barbecue.
Le Normandie

At Le Normandie in Pacific Grove for a quick weekend getaway. Jan made a reservation after doing some online research, and the dinner did not disappoint. I could have eaten only the amazing lobster bisque that started the meal, but luckily I saved room for wild sea bass and a bit of Jan’s filet mignon, plus the most delicious pear tart with almond paste. The daily handwritten menus are the norm, and we will most definitely be going back.
Acing the Cookie Exchange: Czech Linz Cookies

I have never participated in a cookie exchange. When I got the invite to my first one, I knew what I had to do. It was time to tackle the famous Czech Christmas cookies.
I have looked forward to these cookies every Christmas that I remember. Jan’s mom, Alena, spends the weeks leading up to Christmas baking baking baking, and it’s worth it. Continue reading
In the Beer Garden

At Biergarten in San Francisco. This was round two on a beautifully sunny Sunday afternoon, following a first course of sauerkraut, sausage, and a grilled-cheese-type sandwich on pretzel. I will now be making hot pink deviled eggs.
